This is a follow-up post to “Running Docker on Apple Silicon M1”, continuing the journey of exploring Docker on Apple’s new M1 machines.
We left off at booting an ARM Linux virtual machine, and installing & running Docker inside it. This works fine and allows you run containers like for instance a Postgres database. They can expose their ports and instead of connecting to localhost:5432 on the host, you connect to your VM’s IP address, for instance 192.168.64.8:5432.
Now in case you’re not aware, Docker is actually a service that exposes an API over HTTP and when you run docker commands, they control the service via these API requests on a local socket. You’ve probably seen the reference to unix:///var/run/docker.sock at times.
What that means is that it’s possible to direct your docker client to talk to a Docker service over the network, and that’s what we can do as well to enable “regular” docker commands to work with a locally running “Linux Docker VM”.
Incidentally, that’s exactly what “Docker for Mac” is doing under the hood: it is actually a VM based on Apple’s Hypervisor framework which hosts Docker, not your Mac itself.
Installing “Docker for Mac”
In order to get started, we need to obtain the Docker client app. I migrated my existing setup from a Time Machine backup and therefore had Docker installed from the start. If you need to install from scratch, installing the client binaries is probably the easiest way to get started.
Assuming you have a docker binary to hand, you’re good to go. The way we’ll set up the connection is via a “docker context” and all this is thanks to a tip by Johannes Weiss.
Setting up SSH in virtual machine
First though, we need to configure to connect to our VM via SSH. Install the SSH server:
sudo apt-get install openssh-serverand copy your public key to the ubuntu user’s authorized_keys for password-less access.
In order to connect to the VM, you’ll need to find its IP address (which is on a 192.168.64.0 network if you’ve followed along from the previous blog post).
Our image comes without net-tools, so we’ll install these first:
sudo apt install net-toolsand then run
ifconfig | grep 192.168which should yield the following
ubuntu@ubuntu:~$ ifconfig | grep 192.168
        inet 192.168.64.8  netmask 255.255.255.0  broadcast 192.168.64.255
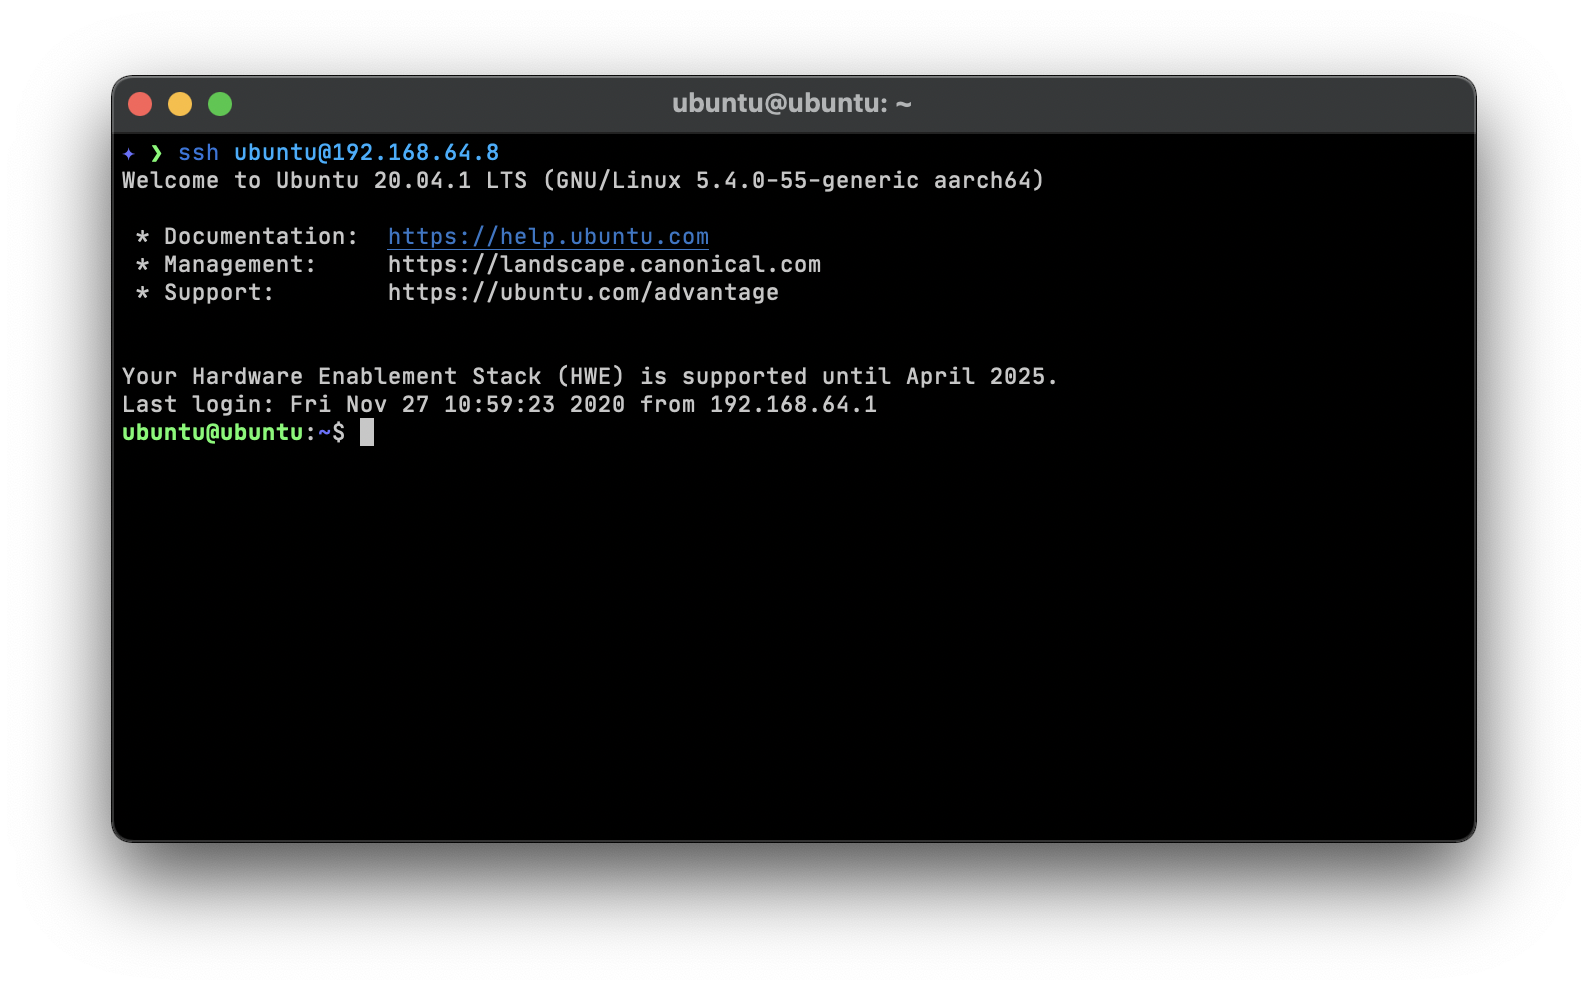
With all this out of the way, we can test the connection from the host:
ssh [email protected]
Setting up a Docker context
The remaining steps are simple. We create a Docker context:
docker context create myvm --docker "host=ssh://[email protected]"and tell Docker to use it
docker context use myvmNow all docker commands are targeting the virtual machine, just like they do in Docker for Mac.
❯ docker context create myvm --docker "host=ssh://[email protected]"
myvm
Successfully created context "myvm"
~
❯ docker context use myvm
myvm
~
❯ docker ps
CONTAINER ID        IMAGE               COMMAND             CREATED             STATUS              PORTS               NAMES
~
❯ docker run hello-world

Hello from Docker!
This message shows that your installation appears to be working correctly.

To generate this message, Docker took the following steps:
 1. The Docker client contacted the Docker daemon.
 2. The Docker daemon pulled the "hello-world" image from the Docker Hub.
    (arm64v8)
 3. The Docker daemon created a new container from that image which runs the
    executable that produces the output you are currently reading.
 4. The Docker daemon streamed that output to the Docker client, which sent it
    to your terminal.

To try something more ambitious, you can run an Ubuntu container with:
 $ docker run -it ubuntu bash

Share images, automate workflows, and more with a free Docker ID:
 https://hub.docker.com/

For more examples and ideas, visit:
 https://docs.docker.com/get-started/
You can find out more about docker context in the online documentation.
Bear in mind that this setup does not come with the convenience of Docker for Mac’s bridge networking or support for volumes – but surely these aren’t far off.
